Set Autocad Sheet Size In 5 Simple Steps
Want to change the sheet size in Autocad? I will show you how to do this is 5 super simple steps.
In Autocad we have two types of views, Model Space & Paper Space. Model space is where we do all our work but when we need to send a drawing to someone we use Paper Space to create a sheet, add viewport and then print or send. But how can we change the sheet size?
Set Autocad Sheet Size In 5 Simple Steps
1 Create A New Sheet
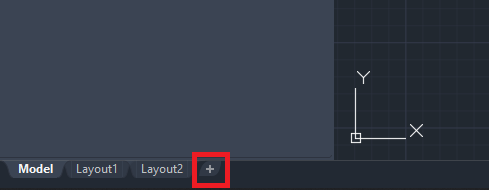
Firstly we need to create a new sheet, this will have a default papersize which we are going to need to change. Simply click on the little + below your main workspace in the bottom left.
2 Go To Page Setup Manager
On the Output tab in the Ribbon bar at the top of Autocad click on the button Page Setup Manager.

3 Create New Page Setup
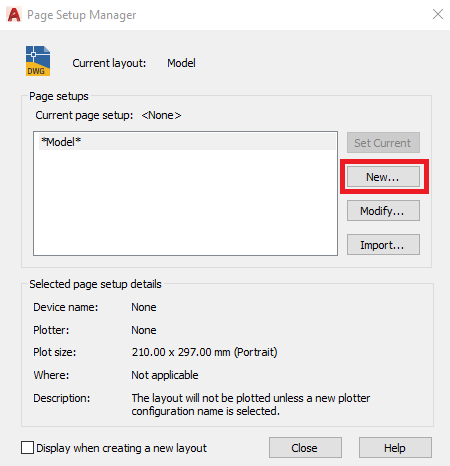
In the Page Setup Manager window we need to create a new Page Setup. Click the New button on the right and give it a sensible name.
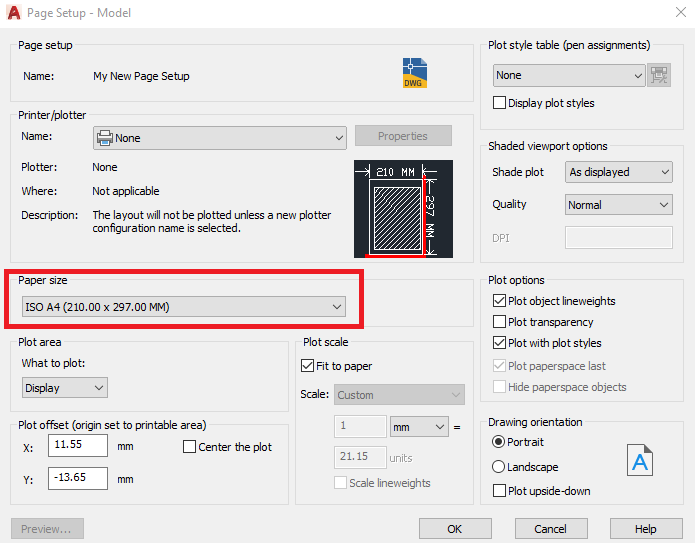
4 Set Paper Size
The next screen will look similar to the Print dialog box, here we can customise the settings for the sheet including the Paper Size. Simply select the paper size of choice and click OK.
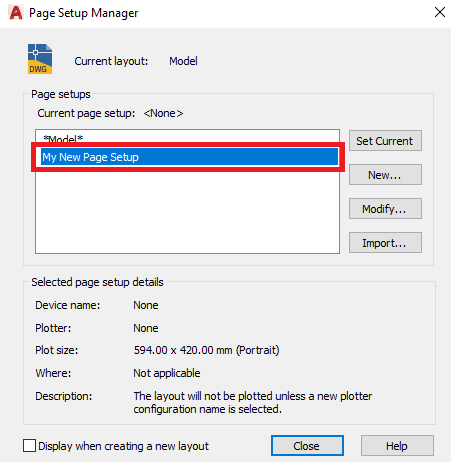
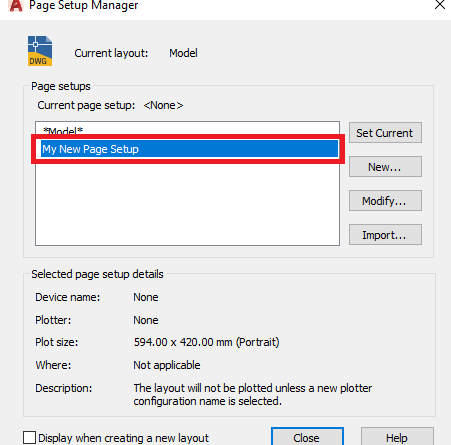
5 Apply to Sheet
Double click your new Page Setup in the Page Setup list to apply this to the new sheet, you can now close the Page Setup Manager window.