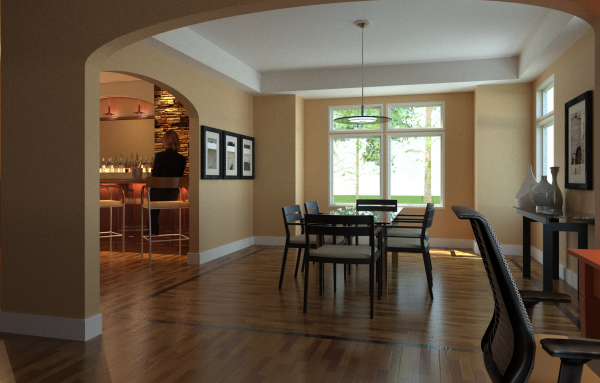
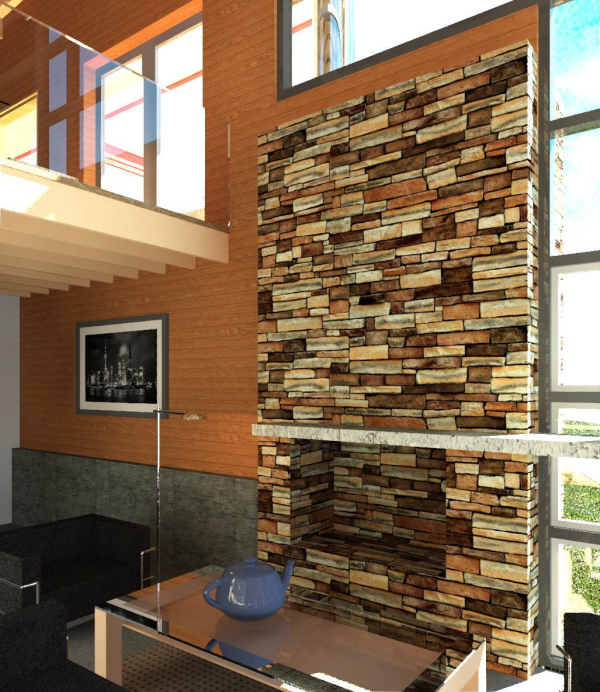
Creating Photorealistic Renderings with Revit
The use of visualisations throughout the design process helps architects and designers convey their concepts and give their projects the best possible first impression. Beautiful, photorealistic renderings can be produced using the appropriate methods and tools to show off the design in all its splendour. We’ll look at how Revit can assist you in producing stunning, top-notch renderings of your projects in this blog post.
If your producing renders check out my blog on how to lock and save your 3D views here.
Use of Revit for rendering has several advantages:
A variety of tools and capabilities are available in the on BIM application Revit, which enables users to produce accurate, detailed designs. Having the ability to work with the same model used for the design ensures that the rendering accurately depicts the finished project, which is one of the main benefits of utilising Revit for rendering. As you won’t need to make a separate model or import the design from another application, this can save you time and effort.
Revit has a number of rendering choices and settings that let you alter the way your renders appear. To achieve the desired effect, you can alter the scene’s materials, lighting, and other elements. To provide users even more possibilities for producing photorealistic renderings, Revit also interfaces with other visualisation programmes like Enscape.

How to Create Photorealistic Renderings with Revit:
1. Navigate to the view you want to render in your Revit project.
2. To access the rendering options, use the “Rendering” option under the “View” tab.
3. Select the preferred settings in the “Rendering” dialogue box. To get the desired effect, the scene’s lighting, materials, background, and other elements can be changed.
4. Once you’re satisfied with the parameters, press “Render” to launch the rendering procedure.
5. You can save the rendered image to your computer or send it to others once rendering is finished.
Tips for Creating Photorealistic Renderings:
- To create realistic surfaces and objects, use high-quality materials and textures.
- To get the ideal mood and ambience, adjust the lighting.
- To determine the ideal method to present your design, try out several camera stances and compositions.
- To improve the final image, use post-processing procedures like colour correction and exposure modification.
- To enhance your renderings with additional features and effects, think about using third-party programmes like Enscape.
You can find more information here on the Autodesk website on producing Photorealistic Renders in Revit.