5 Steps To Save A 3D View In Revit
Want to create and save a new 3D View in Revit but don’t know how?
Simple, just follow the 5 simple steps below as I show you how you can create a new 3D view, Save it, customise it and then lock it so you don’t accidently change the orientation.
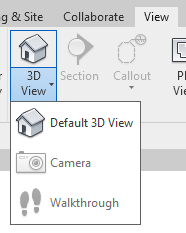
1 Open the Default 3D View
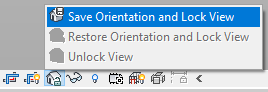
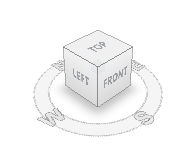
2 Right click on the View Cube
3 Click Save View and give the new 3D view a name

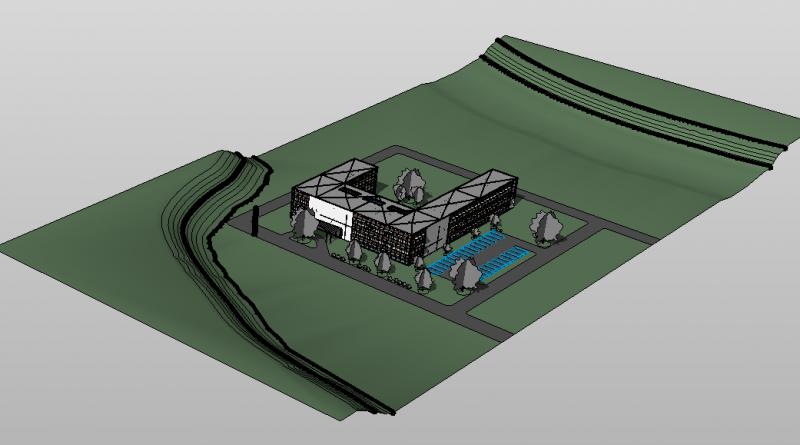
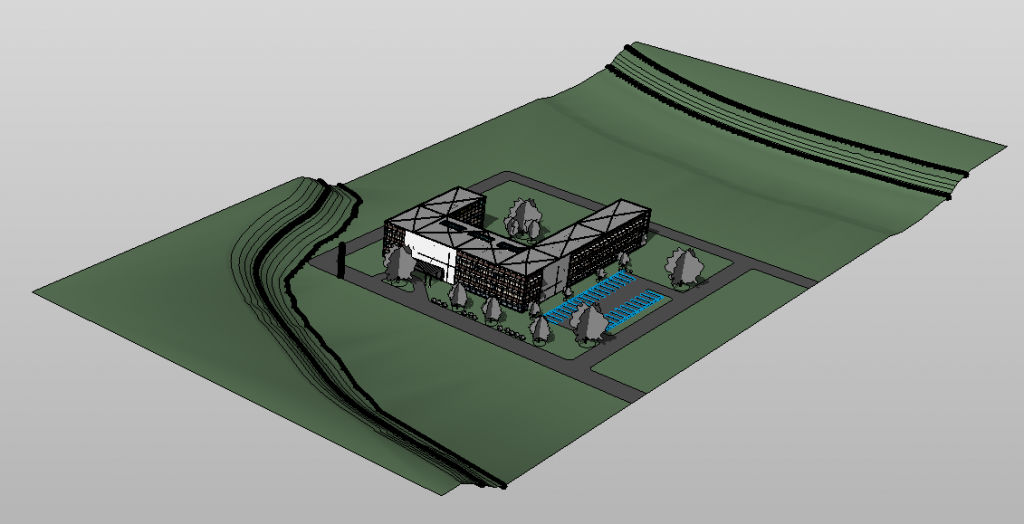
4 Customise your new named 3D View
5 Lock your 3D view once complete