Revit How To Add Levels
Adding new levels to your Revit project is a simple process and below I will show you how to do this.
When you start a new Revit project, depending on the template used you will have some levels already. However chances are you will need to create additional levels and you are going to want to modify those levels such as changing their names and elevations.
Here is how to add new levels to your Revit project.
How To Add Levels
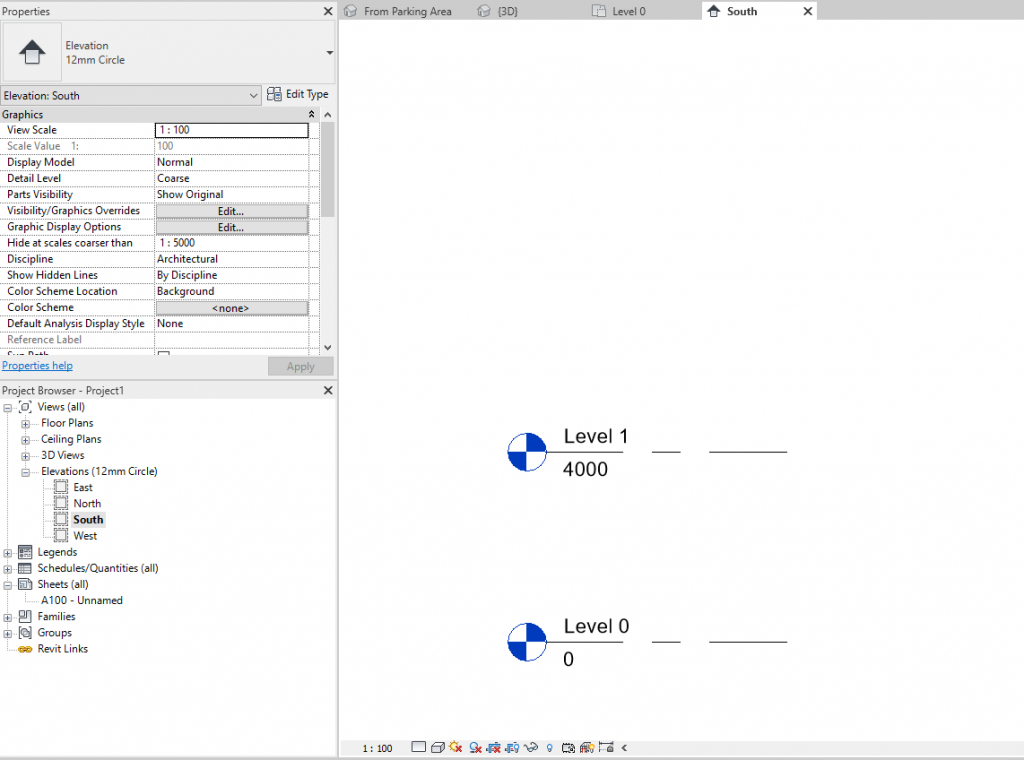
1. Change to an Elevation View such as South
2. On the Architecture click the Levels button

3. Left click in the view to pick the start of the level line and click again for the end

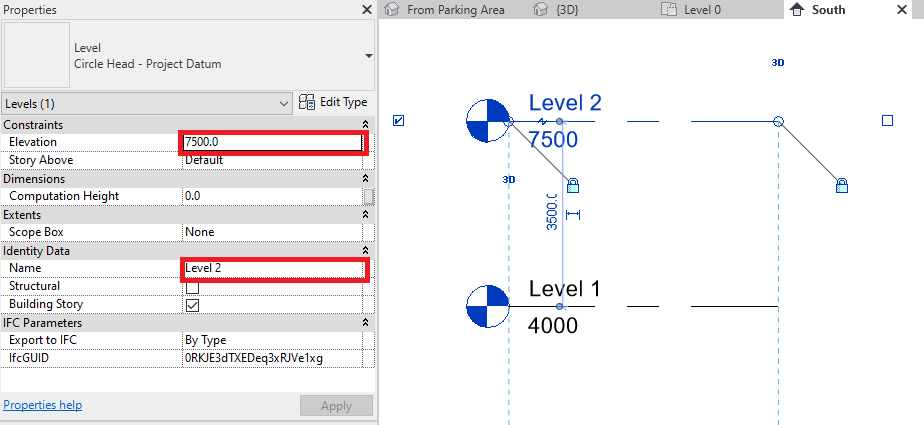
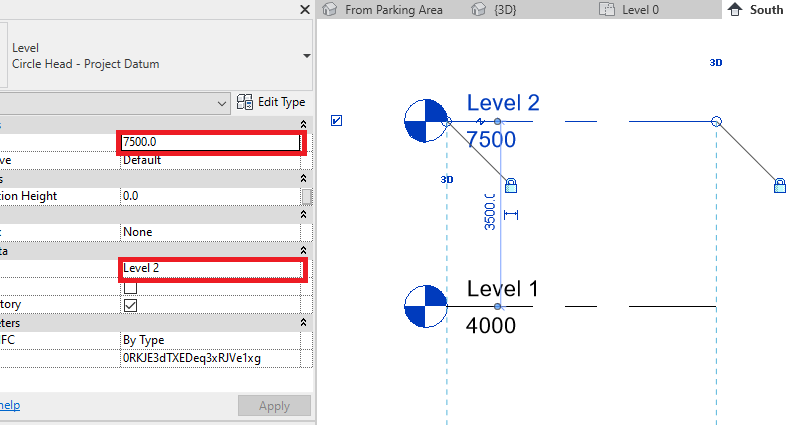
4. Exit the Level tool, select the level and change Name and Elevation in the Properties