Revit Architecture: Basics – Grids
Want to know how to create Grids in Revit? In this exercise I will show you how to create a grid, creating grids only takes a few steps. Grid lines can have many uses from locating where something it to using it to aid placements of elements such as walls, beams and columns.
Revit Architecture Basics
Chapter 2: Grids (You are here)
Where to find Grids
The Grids button can be found in the “Architecture” tab, in the section called “Datum”:

How to Place Levels
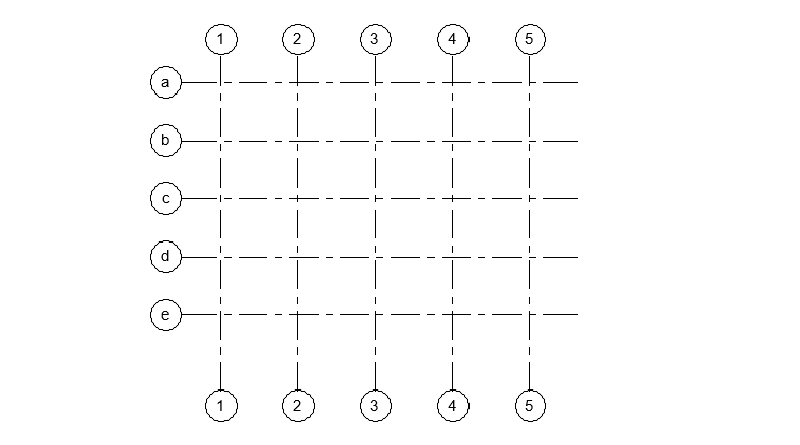
- Select Grid from the ribbon bar
- click the start point of the grid line
- click the end point of the grid line.
This will place the grid line between the two points you clicked.

Grid tags
A tag will automatically be placed at the end of the grid line, however if you select the grid line you get a tick box at either end of the grid line. This allows you to turn on and off the tag at either end.

Notes
- Grid lines are 3-Dimensional and have a height so can exist on multiple levels
- When placing multiple grid lines Revit will follow your naming convention (1,2,3 A,B,C etc.)
- You can hide grid lines when you don’t need to use them, more on that later.
Conclusion
Grids are extremely useful for plotting out your drawings and can have many uses. After creating your levels in a new project adding grid lines is a common second step.
Revit Architecture Basics
Chapter 2: Grids (You are here)
Return to Revit Architecture: Basics
Find out more about Grids on the Autodesk Kneowlage Network.