Revit Architecture Basics – Walls
Want to know how to create Walls in Revit? In this exercise I will explain the very basics of using walls in Revit.
Drawing a basic wall in Revit is a very simple task however the wall tool allows for a lot of customising which will be covered in the Revit Architecture: Beyond the basics series.
Revit Architecture Basics
Chapter 3: Walls (You are here)
Where to find Walls
The Walls button can be found in the “Architecture” tab, in the section called “Build”:

How to Place Walls
There are a few options for drawing a wall which I will explain in a moment. For now, we will draw a wall using the default setting:
- Click the Walls button in the Ribbon bar.
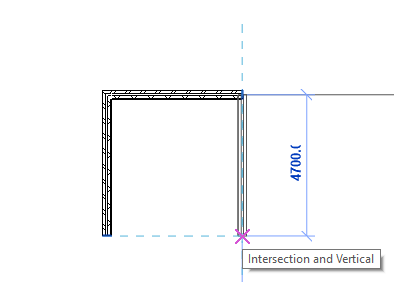
- With your first left click you choose the starting point of the wall.
- With your second left click you choose the end for your length of wall

- You can keep on click to draw a chain of walls or you can press escape on your keyboard to finish drawing walls.
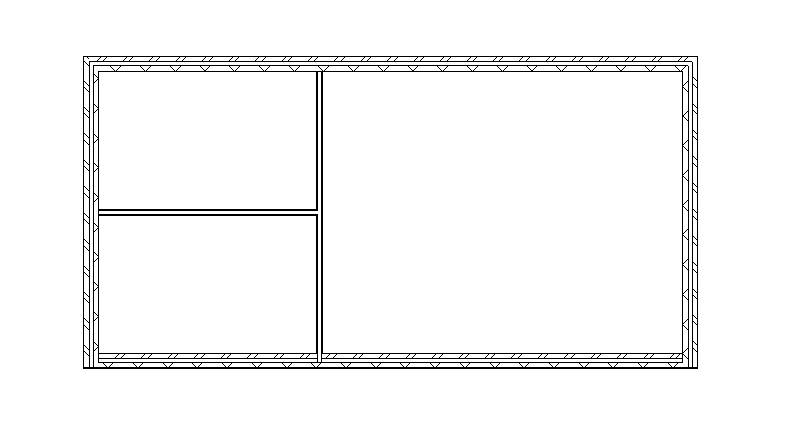
Well done you have now drawn your first section of wall.
Wall properties
We have just drawn a wall with the default properties however in most cases you will want to change these.
Revit allows us to set the properties of the wall while we draw but you can always select the wall after placement and change its properties.
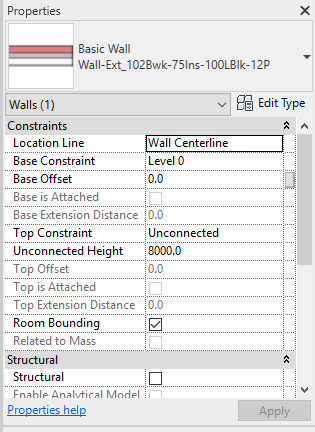
Some of the properties you are going to want to check are:
- Base Constraint – determines where the bottom of the wall is based
- Top Constraint – Determines where the top of the wall is located
- Unconnected Height – If top constrain is unconnected, how high the wall should be
Conclusion
The basics of drawing walls is very easy in Revit, if you have ever played the computer game “The Sims” it not very far from that. Walls have a lot of additional settings and become very customisable and in depth very quickly. I will cover some of the more advance concepts of walls in another blog however Revit is very intuitive and even the advance settings are easier to pick up than it sounds.
Revit Architecture Basics
Chapter 3: Walls (You are here)
Return to Revit Architecture: Basics
Find out more about Walls on the Autodesk Kneowlage Network.