Revit Architecture: Basics – Windows
Want to know how to create Windows in Revit? In this exercise I will explain the very basics of using Windows in Revit.
Adding Windows to your Revit model is a simple process, if you have read the previous chapter on drawing walls you will know understand how simple Revit makes the basics.
Revit Architecture Basics
Chapter 4: Windows (You are here)
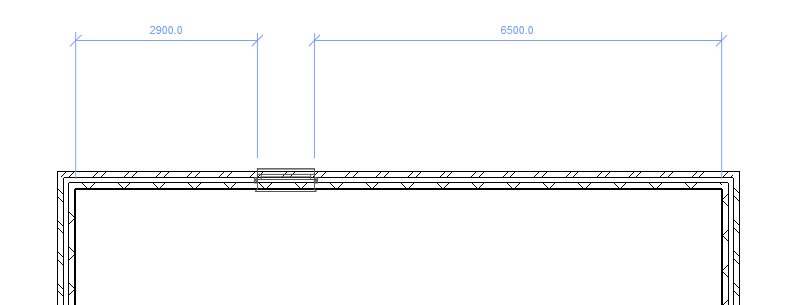
Where to find Windows
The Windows button can be found in the “Architecture” tab, in the section called “Build”:

How to Place Windows
Before placing a window, we first must understand how a window behaves. In Revit certain families must be hosted, for example a Door must be hosted in a wall or light fitting on a ceiling. Windows are wall hosted and can only be placed in a wall.
To place a window in a wall:
- Click the Window Button
- Move you mouse over an existing wall, you will see a preview of the window
- Left click to place the window
Congratulations you have now placed a window in a wall.
Flipping
With the window selected you will notice that you have two little arrows.
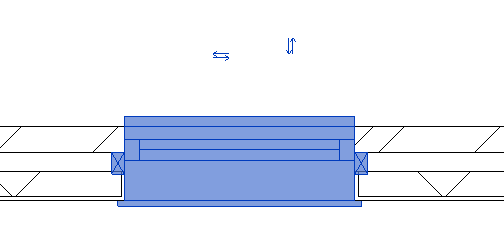
These arrows allow you to flip the Window if you have placed it the wrong way around. For example, if you have the sill on the inside you can click these arrows to flip the window the other way without the need to replace the window.
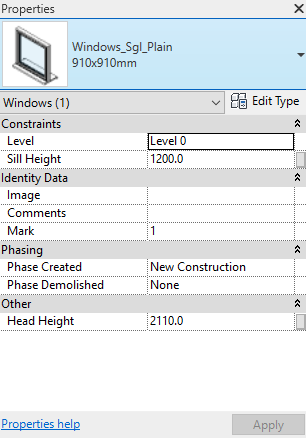
Window Properties
Revit allows us to set the properties of the window while we draw but you can always select the window after placement and change its properties.
Conclusion
Adding windows in Revit is easy, simply click to place. You will of course want to customise some of the properties either prior to placing or afterwards such as height, width and sill height. Depending on the type of Window you are placing some of these setting maybe pre-set and sometimes you can change them in the properties window.
Revit Architecture Basics
Chapter 4: Windows (You are here)
Return to Revit Architecture: Basics
Find out more about Windows on the Autodesk Kneowlage Network.