Revit Architecture: Basics – Floors
Want to know how to create Floors in Revit? In this exercise I will explain the very basics of using Floors in Revit.
Floors are very easy to add in Revit, we draw the outline of the floor and Revit does all the work. We can of course customise the floor but for this exercise I will simply show you how to create one.
Revit Architecture Basics
Chapter 7: Floors (You are here)
Where to find Floors
The Floors button can be found in the “Architecture” tab, in the section called “Build”:

How to Place Floors
When we place a floor in Revit we draw the outline and let Revit fill it with the selected floor type.
To place a Floor:
- Click the Floor button
- You are now in draw mode, using the Draw tools in the Ribbon bar you can draw the outline of the floor.

- In this example I have drawn four lines around the inside of this room.
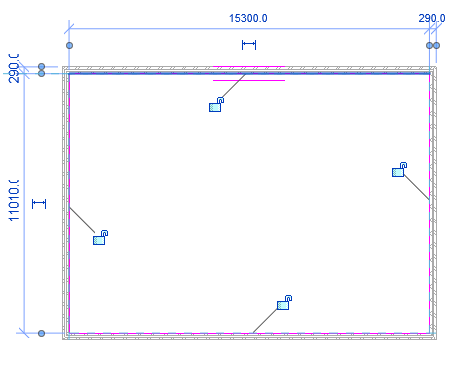
- Once you have drawn a solid outline with no gaps click the green tick in the ribbon bar to finish.

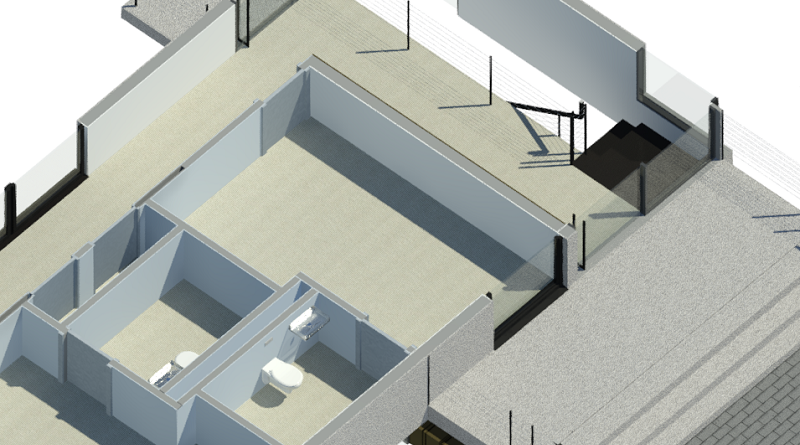
Congratulations you have now placed a floor.
Tips
- When drawing the outline use the pick line tool to click on an existing line to trace, useful if you are following an existing wall.
- When you click finished you may get prompted to join the floor to walls, Revit will automatically join your floor to walls and will cut to the first structural layer in a wall
Conclusion
Floors are created using the draw tools, exploring the various draw tools allows you to create custom outlines. Like most things in Revit the basics are very easy to pick up with additional options that give you more powerful controls.
Revit Architecture Basics
Chapter 7: Floors (You are here)
Return to Revit Architecture: Basics
Read more about Floors on the Autodesk Kneowlage Network.